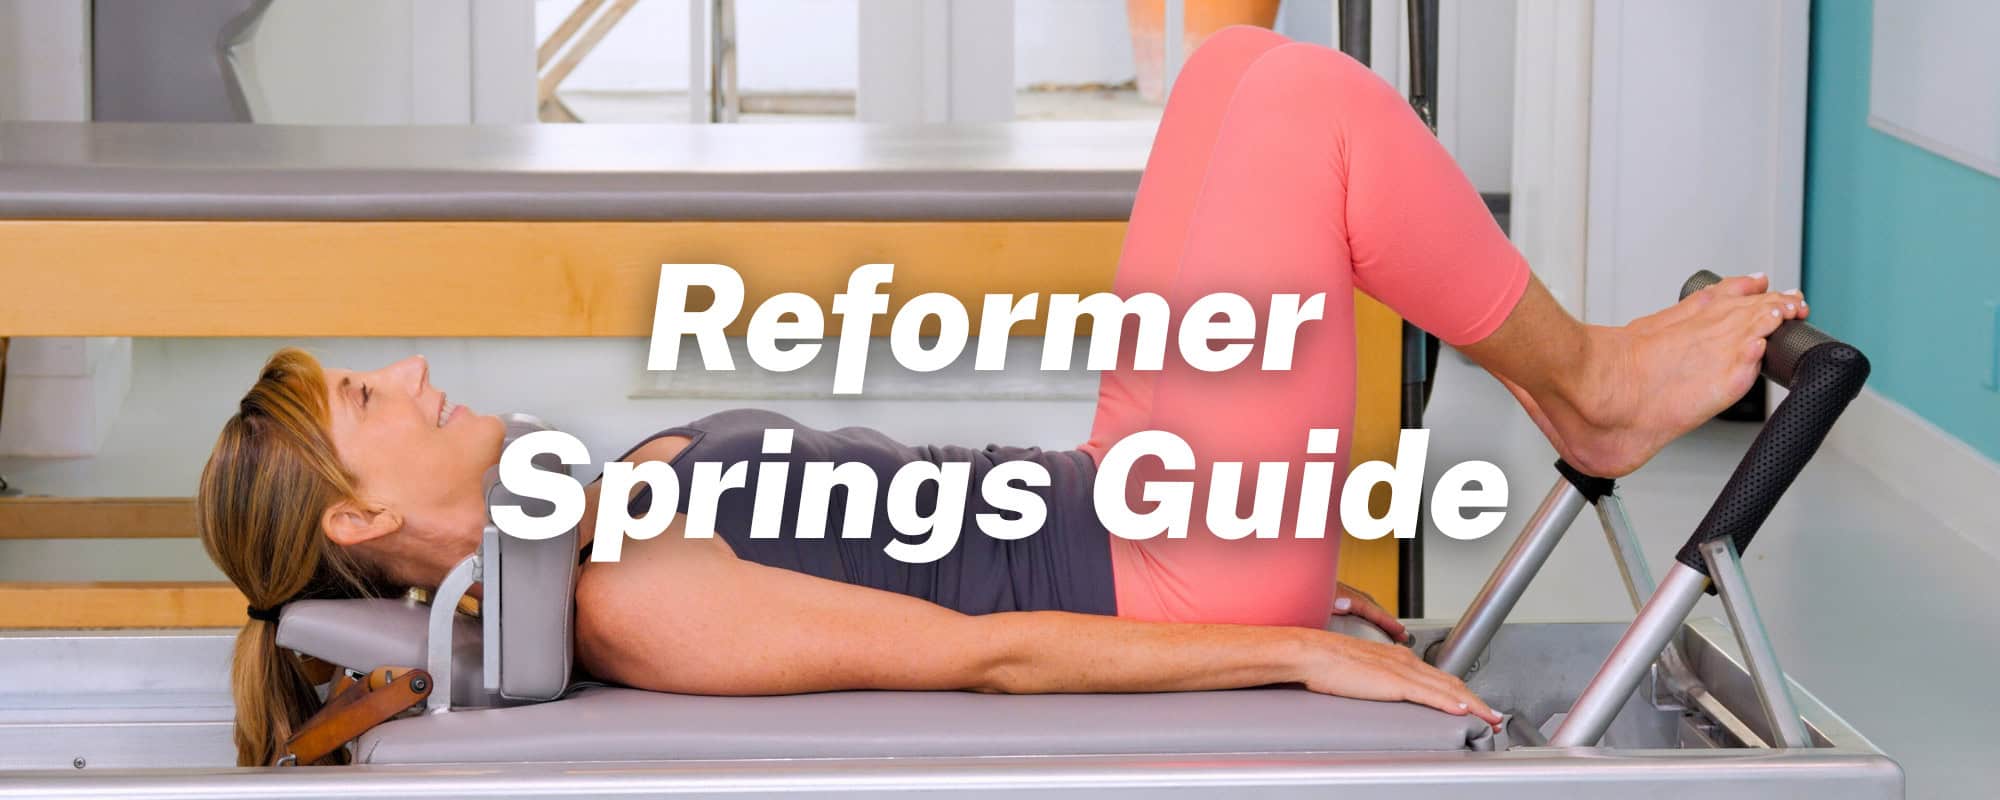
Navigating the world of Pilates Reformer springs will be daunting, particularly with various coloration codes throughout completely different manufacturers. This information demystifies spring tensions, serving to you optimize your exercises no matter your gear.
Click the button below to download your FREE downloadable Reformer Springs Guide PDF! 👇
Understanding Spring Tensions
Springs on a Pilates Reformer vary depending on the manufacturer. Classical Reformers use springs that are all the same tension, whereas contemporary Reformers offer lighter or heavier springs indicated by colors.
Note that heavier spring tension does not indicate difficulty because many exercises require more strength and control on a lighter spring.
Understanding Spring Colors Across Brands
Classical Reformers: Gratz®, Techno®, Legacy®, Pilates Designs®, Contrology®, etc.
- All 4 Springs: Heavy
No colors are used because springs are all the same tension

Balanced Physique®
- Inexperienced: Heavy
- Crimson: Medium
- Blue: Gentle
- Yellow: Very Gentle

Peak Pilates®
- Crimson: Heavy
- Yellow: Medium
- Blue: Gentle

Merrithew® (STOTT®)
- Black: X-Heavy
- Crimson: Heavy
- Blue: Medium
- White: Gentle

Flexia™
- Black: Heavy
- Blue: Medium
- Orange: Gentle
- White: X-Gentle


AeroPilates®
- Black: Heavy
- Crimson: XHeavy (elective)
- Yellow: Gentle (elective)

| Classical Reformer* (Gratz® , and so forth.) | Balanced Physique® | Peak Pilates® | Merrithew® (STOTT®) | Flexia™ | BASI® | AeroPilates® |
|---|---|---|---|---|---|---|
| All 4 Springs = Heavy | Inexperienced = Heavy Crimson = Medium Blue = Gentle Yellow=X-Gentle |
Crimson = Heavy Yellow=Med Blue = Gentle |
Black = X-Heavy Crimson = Heavy Blue = Medium White = Gentle |
Black = Heavy Blue = Medium Orange = Gentle White = X-Gentle |
Crimson = Heavy Blue = Med Yellow = Gentle *Gears additionally have an effect on pressure |
Crimson = Heavy Black = Medium Yellow = Gentle |
| 4 Springs | 1 Inexperienced 2 Crimson OR 1 Grey if avail |
2 Yellow 2 Crimson OR all 5 springs for problem |
1 Crimson 1 Black |
2 Blue 1 Black OR 1 Blue 1 Black 1 Orange |
3 Crimson 1 Blue (or 1 Yellow) OR 2 Crimson 1 Yellow 1 Blue |
4-5 Black Cords |
| 3 Springs | 1 Inexperienced 1 Crimson OR 2 Crimson |
2 Yellow 1 Crimson OR 1 Blue 1 Yellow 1 Crimson |
1 Crimson 1 Blue OR 2 White + 1 Crimson |
2 Blue 1 Orange |
1 Crimson 1 Blue 1 Yellow |
3 Black Cords |
| 2 Springs | 1 Inexperienced OR 1 Crimson + 1 Blue |
1 Yellow 1 Crimson OR 2 Yellow |
1 Crimson OR 1 Blue + 1 White |
1 Blue OR 1 Orange 1 White |
1 Crimson +1 Blue OR 2 Blue OR 1 Blue + 1 Yellow |
2 Black Cords |
| 1 Spring | 1 Crimson OR 1 Blue |
1 Yellow OR 1 Blue |
1 Blue OR 1 White |
1 White OR 1 Orange |
1 Blue OR 1 Yellow |
1 Black Wire |
*Classical Reformers embrace: Gratz®, Techno®, Legacy®, Pilates Designs®, Contrology®, and so forth.
Word: For those who really feel compressed it’s too heavy. For those who really feel uncontrolled, it’s too mild.
*Pilatesology makes use of Classical Reformers, the model we advocate is Gratz®.
👉 Click here to print your FREE Springs guide! 👈
Methods to Set Up Your Reformer for Classical Exercises: Footbar, Gears & Straps or Ropes
The aim of a number of gears and footbar settings is to regulate for various physique heights and to make the stress lighter for some superior workouts like Entrance Steadiness Management.
1. For Reformers which have rope risers: transfer the ropes to the underside for classical exercises. Use the brief loops for fingers and lengthy loops for legs, apart from Quick Backbone which makes use of the brief loops.
2. To search out your gear/footbar setting: Lie down on the carriage with ft on the footbar, your hip angle needs to be round 90 levels or barely deeper with toes on the bar with heels lifted. If wanted, alter in response to directions under.
For peak between 5’3”/161cm and 6’4”/195cm:
• Use the usual gear/stopper setting to attain a 90 diploma hip angle. (On a classical Reformer customary is: 1st Gear, the gear closest to the footbar. )
• If footbar is adjustable, attempt a setting that brings it nearer to the carriage
For peak underneath 5’3”/161cm – Transfer the carriage nearer to the footbar:
• Use the gear/stopper closest to the footbar. The objective is to get the hip angle close to 90 levels
• If the footbar is adjustable, attempt a setting that brings it nearer to the carriage. For Reformers with adjustable ropes/straps, after setting for a 90 diploma hip angle, set the rope so the ends (not together with handles or grommets) are 1.5”/3.81cm previous the entrance of the shoulder block. Or when mendacity face up holding the handles with arms straight to the ceiling, the rope is calmly taught with out partaking the spring
• A spacer box or block can be utilized in entrance of the shoulder blocks to shorten the carriage and permit the coed to succeed in the footbar or blocks with the arms
• For the Quick Field sequence: place the brief field in entrance of the shoulder blocks as an alternative of over them to deliver the coed nearer to the footbar so ft can go underneath the footstrap. Watch out to make sure it’s safe when getting on and off
For peak over 6’4”/195cm – Transfer the carriage away from the footbar:
• Use a gear/stopper farther away from the footbar with the objective of hip angle close to 90 levels
• If the footbar is adjustable, attempt a setting that strikes it away from the carriage
• For workouts that push the carriage removed from the footbar like Lengthy Stretch, Semi-Circle or Quick Backbone shorten the motion to keep away from hitting the again of the Reformer
• Chances are you’ll have to shorten the ropes/straps for a taller individual to keep away from ropes changing into slack. Lie face up on the carriage holding the handles straight as much as the ceiling over the shoulders. The rope needs to be calmly taught with out partaking the spring
• For the Quick Field sequence you could want to position the field additional away from the footbar. Watch out to make sure that it’s safe
Get To Know Your Reformer Springs!
Attending to know the way your Reformer springs work—and adjusting them to fit your physique—could make a giant distinction in how efficient and secure your exercises are. Make sure you examine your machine’s guide, and when unsure, ask an authorized Pilates instructor that will help you discover one of the best setup in your wants.
In search of a listing of Workout routines and Spring Settings? Right here’s the classical Basic, Intermediate, and Advanced Reformer order!
Comply with Together with Alisa Wyatt’s Reformer Springs Information
Take a look at these movies on Reformer upkeep:


